I'm an unapologetic child of the 80's. I'm also biracial. Under those circumstances, I had two options for style icons back then: Lisa Bonet or Jennifer Beals. I was far too young to really dress like either one of them, but let's be honest, in any style competition--Lisa Bonet is the winner. I mean, she had eye makeup that looked like Hollywood's sunglasses from the movie Mannequin. Nevertheless, Jennifer Beals in Flashdance was
the quintessential look for the decade. Like many stay-at-home moms, my look these days is a hilarious farce of athletic wear that is worn to the grocery store or Starbucks, but not ever to work out in, because frankly I don't want to. It's no mystery why so many moms like this kind of outfit--they wash and wear easily, they are usually figure skimming but not revealing, which makes them forgiving to post-baby bodies, and because you quickly figure out that wearing your other cute stuff is a futile exercise in keeping yourself clean and preserved all day. While I love making dresses, I really find myself reaching to find occasions to wear them.
In light of all this practicality, and the inescapable influence of my youth, I found myself looking for easy knitwear to make that I would really wear. I decided to tackle my take on the Flashdance look. You know the one?
I also wanted an easy project to acquaint myself with my serger, since this would be all knit.
Here's my version... of the shirt AND the picture. This is how I entertain myself.
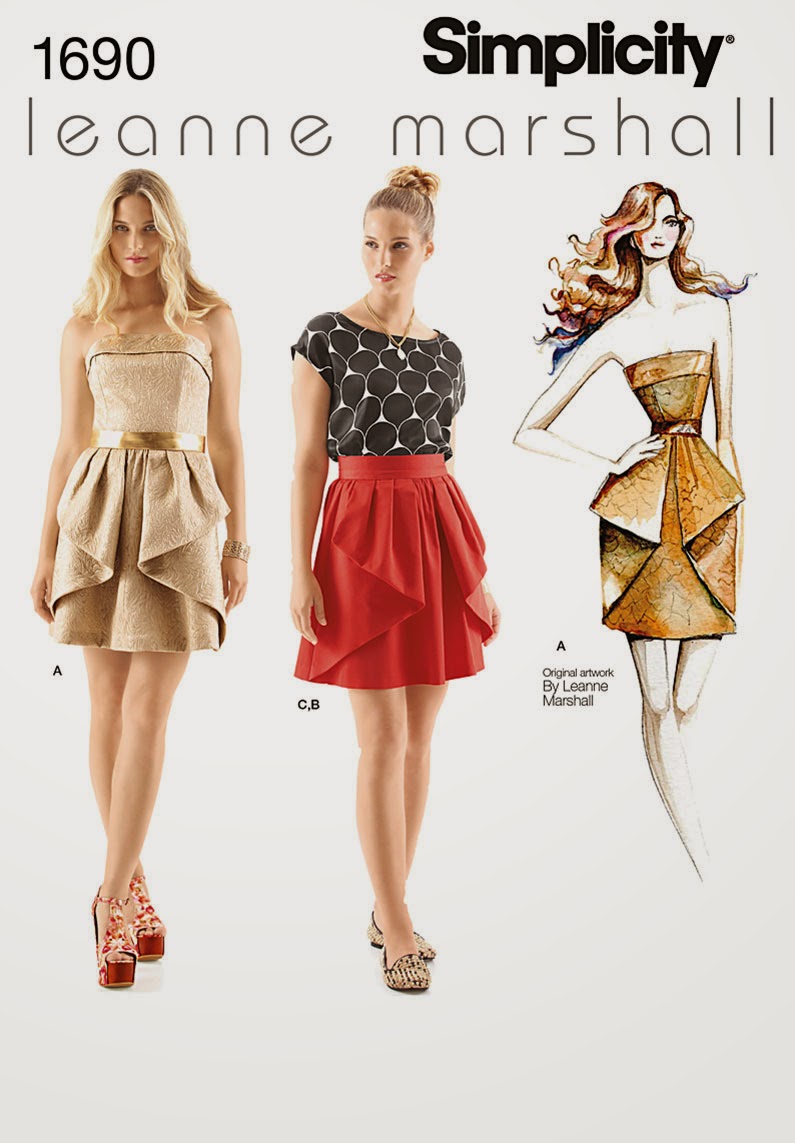
I picked up one yard of a super inexpensive hacci-type heathered grey knit at Hancock. Hacci knit and ITY knits have a really loose weave and are unstable. It probably wasn't the best material to start with, but all the problems with it ended in happy accidents. I didn't own a pattern, or even see a pattern that had the exact look I was going for, so I drafted this top from another pattern that was close to what I was looking for... Simplicity 1690.

This pattern is not meant for knits, which is important to know because the ease plays a big role in the end fit. Ease is the difference between your body measurements and the finished garment measurements--the tightness or looseness, if you will. Knit patterns usually have 0 ease or even negative ease due to the elasticity of the material. I knew I wanted this extra drapey end fit, so I used the ease included in this shirt pattern. I wanted a wider neckline, longer (tunic-like) length, and a straighter line on the side seam (obscuring the waistline more), rather than a shaped line. Using the landmarks on this pattern (like bust point, armhole opening, waistline) I drafted those changes onto a fresh piece of paper. I'm not exactly comfortable drafting from complete scratch yet, though I make things with the intention of learning how to make them and not just following the directions.
As I mentioned, this fabric was really tricky. I tried to hem it with a twin needle on my sewing machine, but the hem was
all over the place. It looked like I let my kids take turns chewing on the edge of it... not good. The solution I came up with for the hem was to make them all cuffs! I cheated! To do it, I just measured the length of each edge that required finishing-- the armholes, the neck hole, and the bottom. Then I cut a length of fabric to each of those lengths. The width was determined by what I wanted the end cuff width to be. So, the width would be 2x's the desired cuff width + the seam allowance. So for a 1 inch cuff with a 1/2 inch seam allowance, you would cut the fabric 3 inches wide. The benefit to doing a cuff was that I could use my serger for the entire thing. I think it finished well too...
So, I love this shirt. Its comfy. Its semi-stylish. It took only a yard of fabric, and I know I'll wear it. In my mind I am indeed a maniac, maniac on the floor.
And I'm grocery shopping like I've never grocery shopped before.